Why should you use screen protection on your phone? Because, it’s cheaper to replace a $1 glass protector than repair your iPhone! Also, given the astronomical prices for any phone repair, and Apple’s lobbying [1] [2] against Right to Repair Act, it makes perfect sense to protect your investment.
Glass protector saves many phone displays every day. According to studies available online, 90% of all users DROP their phones at least once a month and 50% of phone owners experienced at least once cracked screen accident! Those are HUGE numbers! And only one UNLUCKY FALL is required to shutter your precious phone’s screen into million unrecoverable pieces.
However, there is an easy way to prevent all that from happening: use strong case cover + glass screen protections, and you’ll substantially reduce the odds.
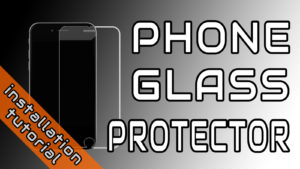
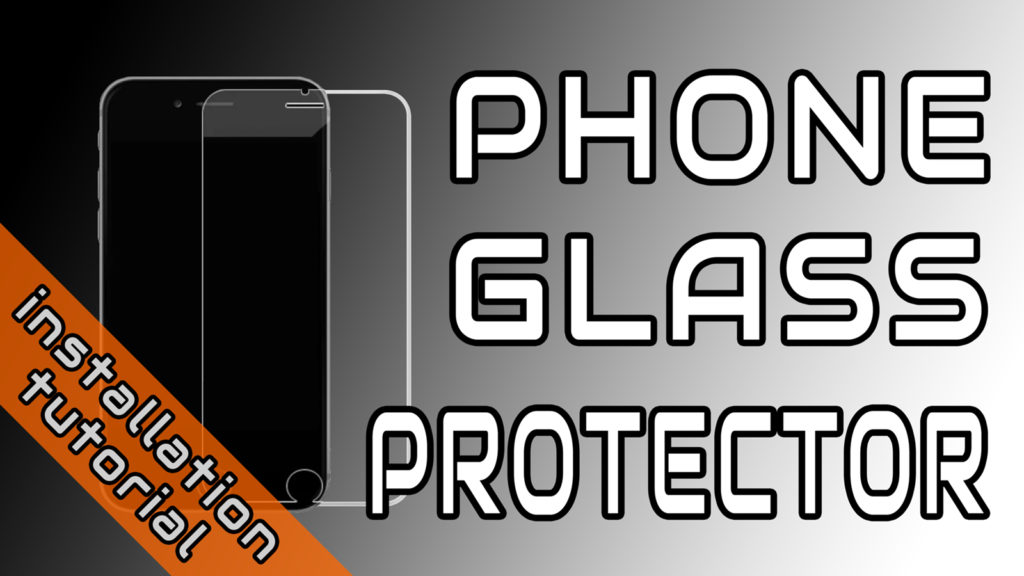
HOW TO PUT GLASS PROTECTION ON IPHONE GUIDE/TUTORIAL
Glass protectors offer superb performance in comparison to ordinary plastic films (sheets or foils). They have scratch-resistance hard coating, higher light transmittance ratio and feel smoother to your fingers. In this tutorial we will mount TEMPERED GLASS SCREEN PROTECTOR on iPhone 7, but you can apply this technique to any brand out there, really.
There are various studies about efficiency of glass protectors and if they can really protect your phone’s (or tablet’s) screen from damage, but in our opinion they are really worth it! They are not fail-proof protections, of course, but they can save you a lot of $$$ in case of accidental falls and direct screen hits. Remember, it is always faster and cheaper to replace $1 – $10 screen protector than device’s actual screen!
Until transparent aluminum ceramic becomes cheap enough to be used on phone screens and photo lenses, additional glass protection layers are our best option for the time being.
However, since we are dealing with the glass and not the foil, you have to be careful not to bend it much during installation procedure, because it may easily break and shatter into pieces. But, how to do it like a pro, without any bubbles left in the middle? Watch this excellent video tutorial to find out!
This tutorial assumes your phone’s screen surface is perfectly flat! If you install the glass on an old phone with existing scratches, notches and other deformations on the screen, glass protection layer might not bind perfectly to the screen and air bubbles will inevitably form.
ACCESSORIES LIST
- WET / DRY Cleaning Tissues
- Clean cloth or ordinary napkins (use good quality napkins that do not easily dissolve and leave additional dust particles)
- Glass cleaning liquid (off-the-shelf, optional)
- Guiding Stickies (use common sticky tape if you don’t have any)
- Dust removal sticky (or use any household sticky tape as a replacement)
- Glass Protector
STEP-BY-STEP INSTRUCTIONS
STEP 1
Place Glass Protector on your phone WITHOUT removing back protection film. First we must check if it fits and aligns properly.
If everything is all right, place some sticky guides on the glass protector edges, where you can comfortably place your fingers to hold it WITHOUT touching the adhesive (back) layer.
Put Glass Protector safely on a side and continue to next step. We need to clean the phone’s surface before actual installation :)
STEP 2
Use WET cleaning tissue supplied with the glass protector.
This is great for basic cleaning, but in my own experience usually not enough to perform an in-depth cleaning.
STEP 3
Use DRY cleaning tissue supplied with the glass protector and gently, but thoroughly clean the remaining dirt & dust particles.
Also, remove any liquid left from WET tissue in STEP 1.
STEP 4
Use DUST ABSORBER sticky to gently tap on the glass in areas where you spot dust particles. DO NOT use sticky in the same way you use cloth/tissues – only tap and pull it back! It will leave glue traces if you try to wipe dust particles with the sticky tape!
STEP 5
Use napkin with some Glass Cleaner liquid applied. This will additionally clean any greasy and dirt from the phone’s screen surface, that you normally cannot remove with supplied DRY/WET tissues.
Do not put too much of the glass cleaning agent.
STEP 6
Use DRY tissue again to remove any remaining liquid from the surface. It should be “sparkling clean” by now.
Use DUST ABSORBER sticky AGAIN to gently tap on the glass in areas where you spot dust particles. DO NOT use sticky in the same way you use cloth/tissues – only tap and pull it back! It will leave glue traces if you try to wipe dust particles with the sticky tape!
STEP 7
Peel-off (remove) dust protection layer from the back side of the glass protector.
STEP 8
Align glass protector along the screen edges properly and gently place it on the phone’s screen side. Glass protector will glue itself with the screen – no need for you to do anything at this stage!
Leave it to complete self-attachment sequence and then inspect all the edges and surface for any anomalies. If you spot an area that was not attached properly, gently squeeze it and push the air out. Do not attempt to detach glass and fix the position – you may easily break it! Remember, glass is not the same as plastic protection films – it’s fragile!
STEP 9
Remove helper sticky guides and clean the outer surface of the glass protector.
CONGRATULATIONS! YOU ARE DONE :)






![Xiaomi App - How To Re-Install Stock Factory Version - How To Fix Corrupted Gallery App [no root]](https://tehnoblog.org/wp-content/uploads/2025/09/Xiaomi-Gallery-App-Code-Bugs-Artwork-1024x576.png)










Comments
Post A Comment