

VMware virtualization software solutions and cloud computing platform tools are one of the best on the market, positioned at the very top in the business because of their versatility and stability, with over two decades of continuous development and support. While you can easily get overwhelmed by all the different products and services VMware currently offers, we are going to cover the basics and one of their most recognizable product today – VMware Workstation Player.

What Is VMware Workstation Player
VMware Workstation Player is a type-2 virtualization hypervisor which allows you to run a second, isolated operating system (“OS” for short) as a virtual machine on your host PC (running Windows or Ubuntu). In plain words, suppose that you have an Ubuntu-based computer, but you desperately need a Windows-based one in order to use some specific app. Or you have a Windows-based computer, but you wish to try Ubuntu and see what’s all the fuss about. Virtualization does not stop there, besides various Windows and Linux flavors there are tons of other OSes this technology supports!
So, what can you do?
Possible Solutions
- For one, you can purchase another physical computer, which is kind of expensive (say goodbye to your holiday savings – ouch!).
- Another option is to use a dual-boot feature and install Windows or Ubuntu along your main OS, but there is an obvious downside to this – it’s complicated and you can’t run both OSes at the same time!
- Finally, you can use virtualization technology and install another OS inside an existing one on your good old PC (you keep your holiday savings and both OSes run at the same time – awesome!).
All modern PCs have a hardware support for virtualization and there are numerous ways to do it, of course, but one of the easiest method is to use VMware Workstation Player and install or boot guest OS from the installation drive or image as a virtual appliance.
In this tutorial we are going to use on Ubuntu 20.04 LTS host and show you how to install player in this environment.
VMware Workstation Player is free for personal non-commercial use and it allows you to run a single machine instance, which is usually good enough for educational and development purposes.
Let’s get started!
How To Install VMware Workstation Player on Ubuntu
Watch quick video tutorial
First, let’s download VMware Workstation Player for Ubuntu. Open Firefox browser (first icon on left sidebar in fresh Ubuntu), navigate to VMware download page and select an appropriate version:

VMware Workstation Player – How To Install On Ubuntu – 01 – .bundle File Download
Once completed, file should be stored in your local user Downloads folder:
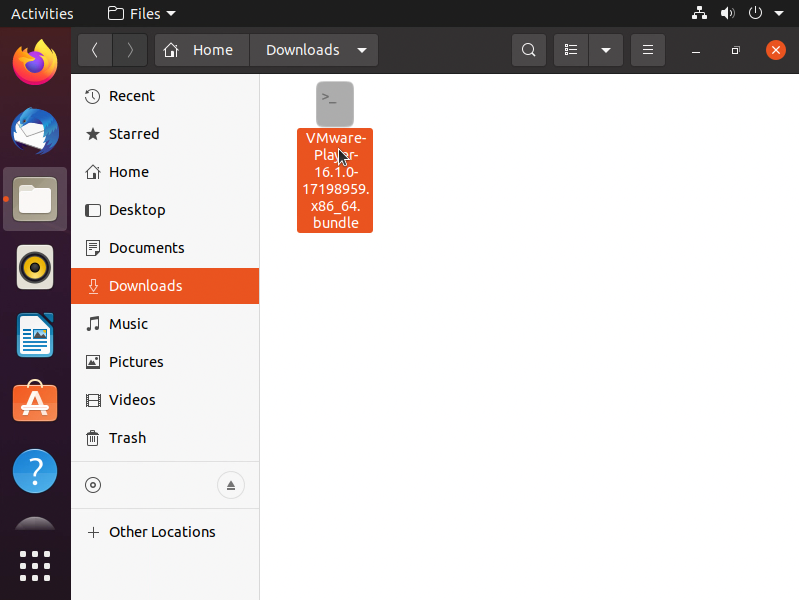
VMware Workstation Player – How To Install On Ubuntu – 02 – .bundle File Download
Now, we need to perform additional steps before actual installation. If you come from a Windows world, you usually simply download .exe (executable or binary) file, double-click on it and installation wizard will automatically start (of course, admin privileges are required, and you’ll need to fill-in admin username/password account credentials or confirm UAC prompt dialog to continue). A lot of things Windows runs under the hood, hidden from the user’s eyes, but in Linux things are a little different.
(1) Start Terminal:
Apps (last icon on left sidebar) > Type “Terminal” in search box (without quotes) > click on Terminal icon

Ubuntu Linux – How To Start Terminal App
Now, first let’s perform packages and libraries updates, which is always a good idea before installing any new software.
(2) Get Available Package Updates:
sudo apt update
We need sudo command to perform administrative tasks, and you will be prompted to enter your password.
![]()
(3) Perform actual upgrade:
sudo apt upgrade
![]()
When prompted, confirm upgrade with Y (Yes) + ENTER on your keyboard.
![]()
Next, remember that we’ve downloaded .bundle file from VMware website? This is actually a shell script which requires executable permission and root user account in order to be able to run – so let’s do it! Be careful about installing .bundle files from less known and respectable sources, though…
(4) Switch path to downloaded file location: (which is in Downloads by default)
cd Downloads
![]()
(5) Set Executable Bit:
chmod +x VMware-Player*
![]()
Notice a wildcard character “*” in above command. This is just a convenience to shorten typing long filenames and paths. Linux will automatically select first match in the folder, but be careful if you have multiple versions of Player .bundle files present. Use full filename in that case, to avoid installing wrong version.
(6) Install C, C++ Compiler and Development Tools: (in order to be able to compile a binary file of our program/app)
sudo apt install build-essential
![]()
(7) Now execute downloaded .bundle installation file:
sudo ./VMware-Player*
![]()
Technically, we shouldn’t call plain sudo for graphical programs, but we’ll be fine in this case, so let’s not complicate it any further.
Again, we use wildcard as before (which can be shortened to just V* or VM* in case you don’t have any other potentially matching filename in Downloads directory), but it is also perfectly fine (and recommended) to use a full filename to avoid any confusion. Since this is the only file currently in Downloads folder that matches wildcard, it’s fine. Keep in mind files and filenames are case sensitive in Linux!
Once the installation is completed you should receive a status message confirming that the procedure was successful:

VMware Workstation Player – How To Install On Ubuntu – 03 – Installation Successful
How do we run VMware Player once it is installed on Ubuntu?
You can locate it either by hitting Activities tab or Apps icon at the very bottom of the sidebar. Just open the apps window and start typing VM… and the icon with arrows will appear. Select it and VMware Workstation Player app will start.
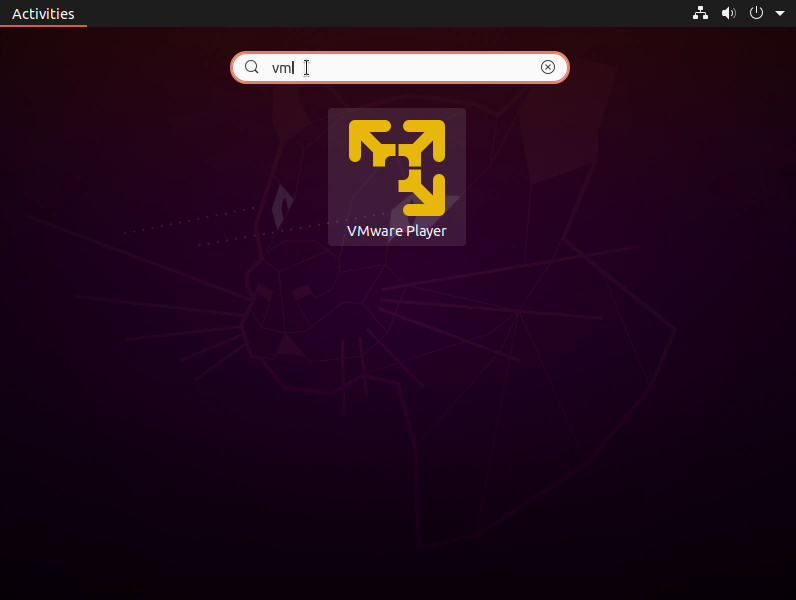
VMware Workstation Player – How To Install On Ubuntu – 04 – Run VMware Workstation Player
Now, we are finally in business. Accept license agreement and proceed to the following steps. You can opt-out from automatic updates and customer feedback program (for privacy reasons) or leave it on if you wish to help VMware devs with anonymous usage reports. Once again you’ll be prompted to enter your user’s account password to run VMware Workstation Player and from there things should be straight forward.
VMware Workstation Player – How To Install On Ubuntu – 05 – VMware Player First Run
On occasion, VMware will prompt you with requests to perform certain components updates, which is perfectly normal and doesn’t take too long:
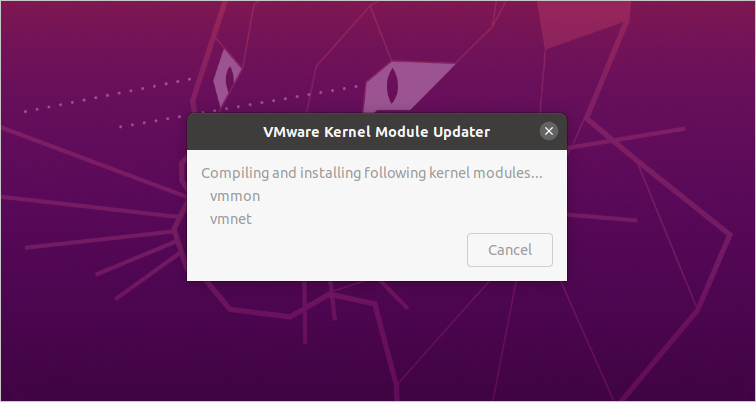
VMware Workstation Player Running on Ubuntu – Compiling and Installing Kernel Module Updates
The next step is to add new Virtual Machine, but we’ll leave it for some other time.
Bonus Video
Oracle VirtualBox Tutorial: How To Run Ubuntu as Virtual Machine on Windows 10 Host


![Xiaomi App - How To Re-Install Stock Factory Version - How To Fix Corrupted Gallery App [no root]](https://tehnoblog.org/wp-content/uploads/2025/09/Xiaomi-Gallery-App-Code-Bugs-Artwork-1024x576.png)


Comments
Post A Comment